GENERAL TIPS

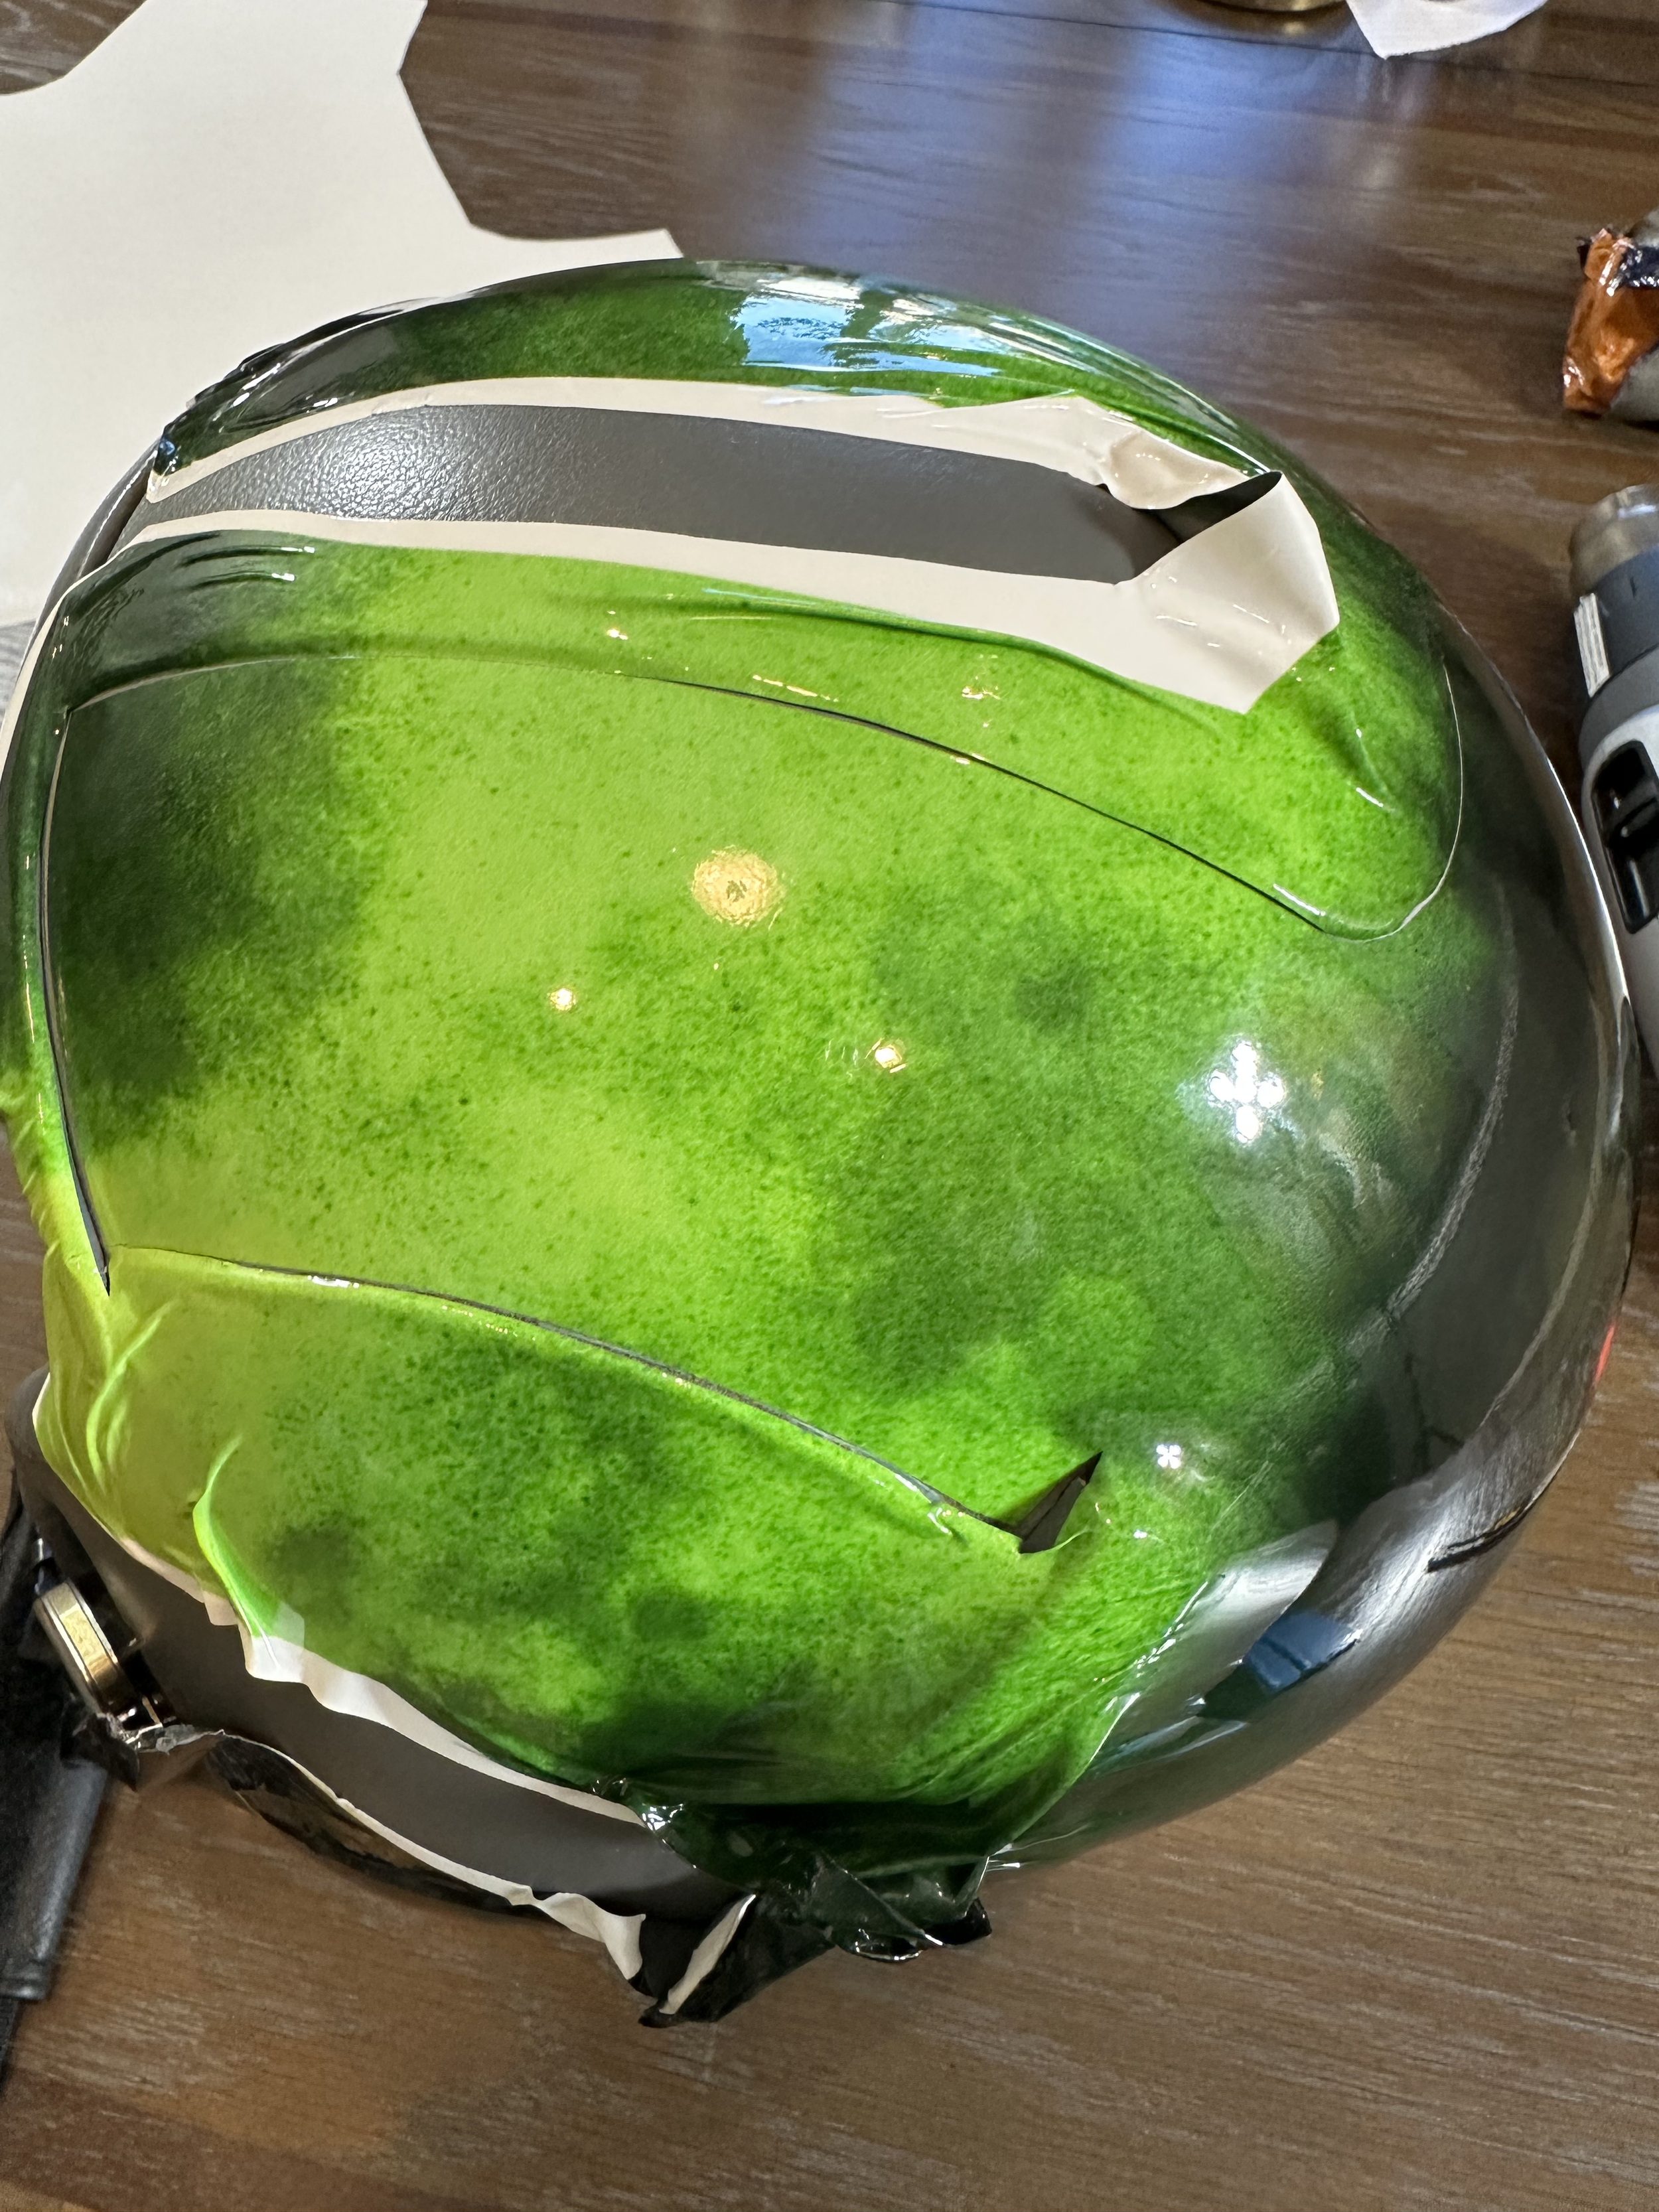
  • A heat gun or hair dryer will allow the wrap to be more malleable, however, don’t apply too much heat for too long, as it will burn the wrap or weaken the structural integrity.

  • Don’t let the wrap stay folded in on itself for too long. The longer the sticky part is stuck on the sticky part, the harder it is to separate.

  • You can separate it, though. Take your time.

  • The wrap is tough, however, avoid developing a tear, as it will quickly get worse.

  • It is essential to work from a center point of the wrap and move outwards. You will likely have to undo your work if you focus on one section versus the center-to-outside technique.

  • You can pull up old parts and re-lay them without issue.

Start by aligning the red center line with the center of the helmet’s top side. Overlap the top leather portion with about a thumbs width of the graphic.

Pull the wrap over the helmet towards the bottom, and align the red centering line to the center of the bottom of the helmet.

Begin from the center of the helmet and work your way outwards.

Get the center smooth, by wrapping out the wrinkles towards the outside of the helmet.

Temporarily lay out the left side of the helmet as such. We start wrapping the other side, and this will keep the wrap from folding in on itself as we work on the other side.

Lay and align the bottom right side of the helmet, working outward from the center pulling the material towards the bottom of the helmet, as well as the top.

Wrap the center side, up to the visor blocker, and then the top. This is the hardest part, take your time.

Now re-accomplish for the other side.

Time to cut away the excess using a razor blade. Start from the top left section as below. Generally, you will heat first with a heat gun or hair dryer, though not required, and smooth out any air bubbles or wrinkles, pushing them to the edges. Then cut.

Next, work on the side. The visor blocker area is challenging. Cut on one side of it, and ensure the material is down tight, before moving on. On the portion that is in the center of the picture below, you need to leave about 1/4 of an inch of the plastic helmet exposed. Do not try to align the wrap perfectly with the leather. See the taping portion further down to see why.

Heat, and smooth out the wrap at the bottom of the helmet, getting it close to the edge, then cut, leaving space for the tape.

Poke 4 holes very close to the screw an button, then heat and push out all air bubbles into the cut holes. Next, cut away the excesss material, allowing the button and screw to show through.

After cutting away all excess wrap material, it is time for the final steps of adding tape to the four areas that will have the tendency to lift from the helmet over a long period of time. The first are the sides as shown below. You can see how there is a space between the wrap and the leather portion. This will allow a portion of the tape to be applied to both the wrap and the plastic of the helmet.

Below is what it looks like after the tape has been applied and the excess tape that would cover the leather portion has been cut and removed.

Tape this top section.

Tape this bottom section. Using a clean towel, wipe away any fingerprints, dirt, etc. from the wrap. You are done!